Infrastructure testing has a stupid missing feature: undo.
You deploy. Something breaks. Then you spend the next 20 minutes cleaning up Docker containers, orphaned files, half-written configs, broken reverse proxy rules, and whatever else your tool managed to touch before it fell over.
That is punishment, not a test loop.
If you build or test infrastructure management tools like Kamal or Coolify , the server itself is the test fixture. You need to break it, learn from it, and reset it. Over and over again.
So I stopped pretending cleanup scripts were enough and built a small VM manager around the lifecycle that actually matters: create, snapshot, test, restore, destroy.

Dirty Servers Ruin Tests
Deployment tooling does not live in a neat unit-test universe. It commissions machines. It SSHs in. It installs Docker. It writes files. It configures reverse proxies. It starts services. It restarts services. It leaves evidence.
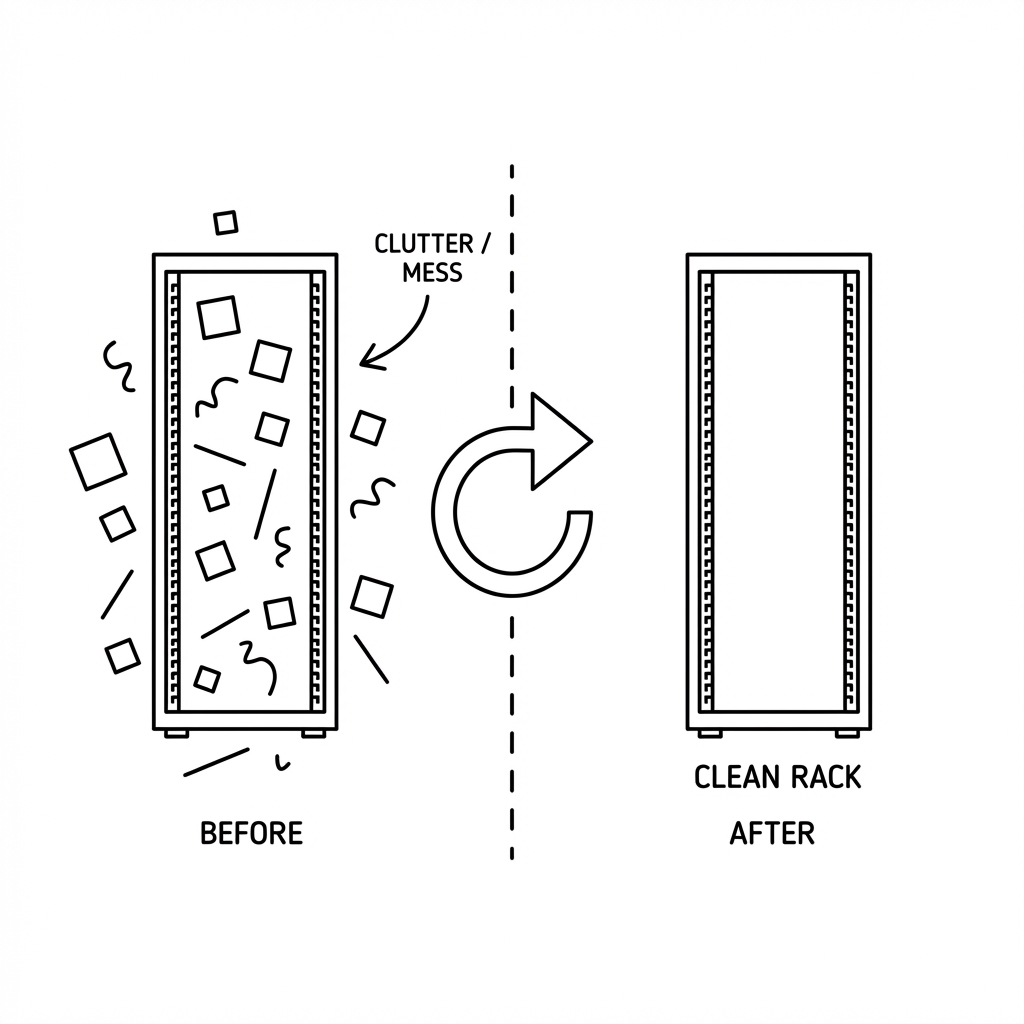
After a failed run, the test server is no longer clean. A misconfigured Traefik rule, failed container startup, stale database directory, or half-applied firewall rule can change the next result. Now you are not testing your code. You are testing your residue.
The usual answers are weak:
- Throw away cloud VMs: Effective, slow, and expensive. Waiting 2 minutes for DigitalOcean to spin up a new droplet every time you need a clean slate kills momentum.
- Docker-in-Docker: Useful for CI, awkward for tools that need to manage real Docker installations.
- Manual cleanup scripts: Fragile by design. You always miss something. Six months later, the cleanup script needs its own cleanup script.
What I needed was something closer to the edit → test → undo workflow we take for granted in our IDEs.
Snapshots Are the Undo Button
Local VMs are cheap, fast, and they support snapshots.
That is the whole trick. Spin up a VM. Configure it exactly the way your deployment tool expects. Save that state. Break it as many times as needed. Restore when the mess stops being useful.
I built the script around Multipass , Canonical’s lightweight VM manager. It is free, cross-platform, and creates Ubuntu VMs that behave enough like cloud servers for deployment testing.
The workflow becomes:
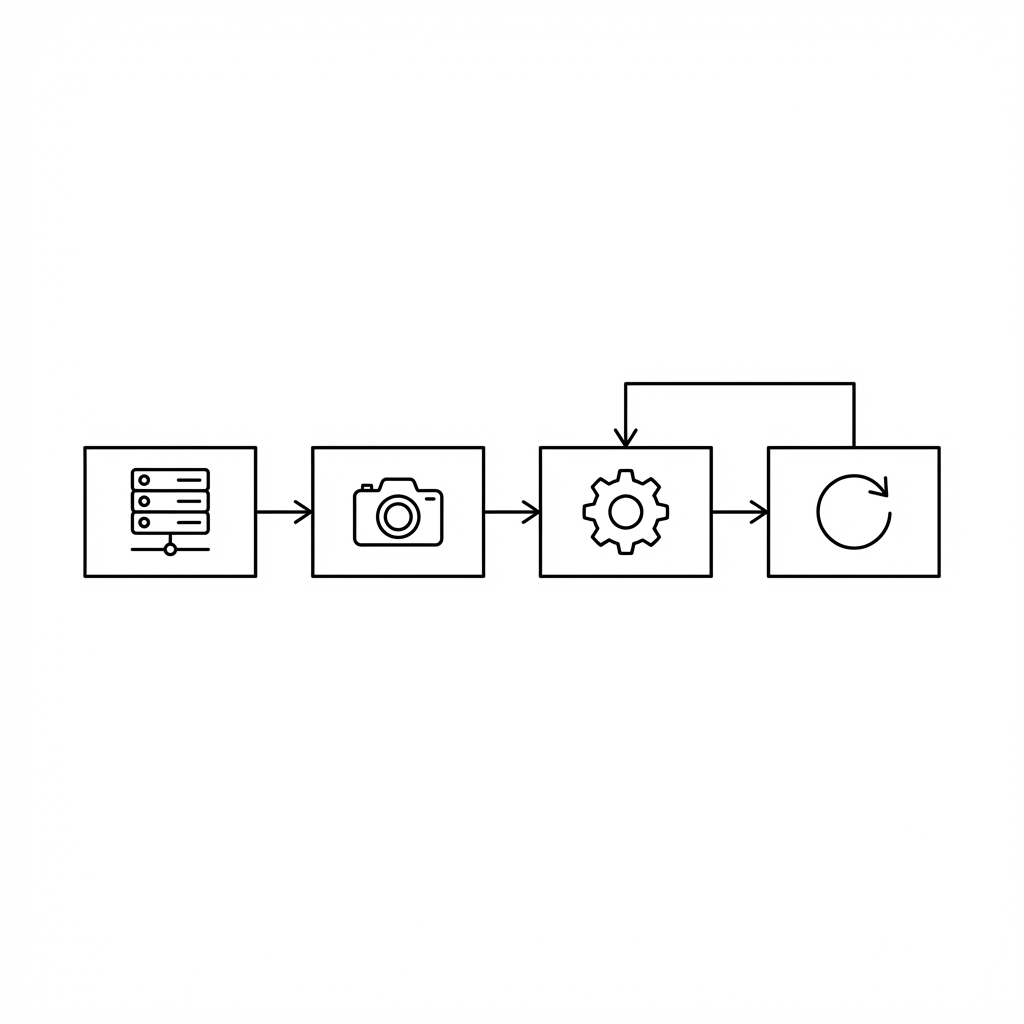
- Create VMs — Spin up fresh Ubuntu machines with a single command.
- Snapshot — Save the pristine, freshly-commissioned state.
- Test — Run your deployment tool. Break things. Learn.
- Restore — One command and you’re back to clean.
- Repeat — Iterate as many times as you need.
No cloud bills. No waiting. No manual cleanup.
The Tool Is Just the Loop Made Concrete
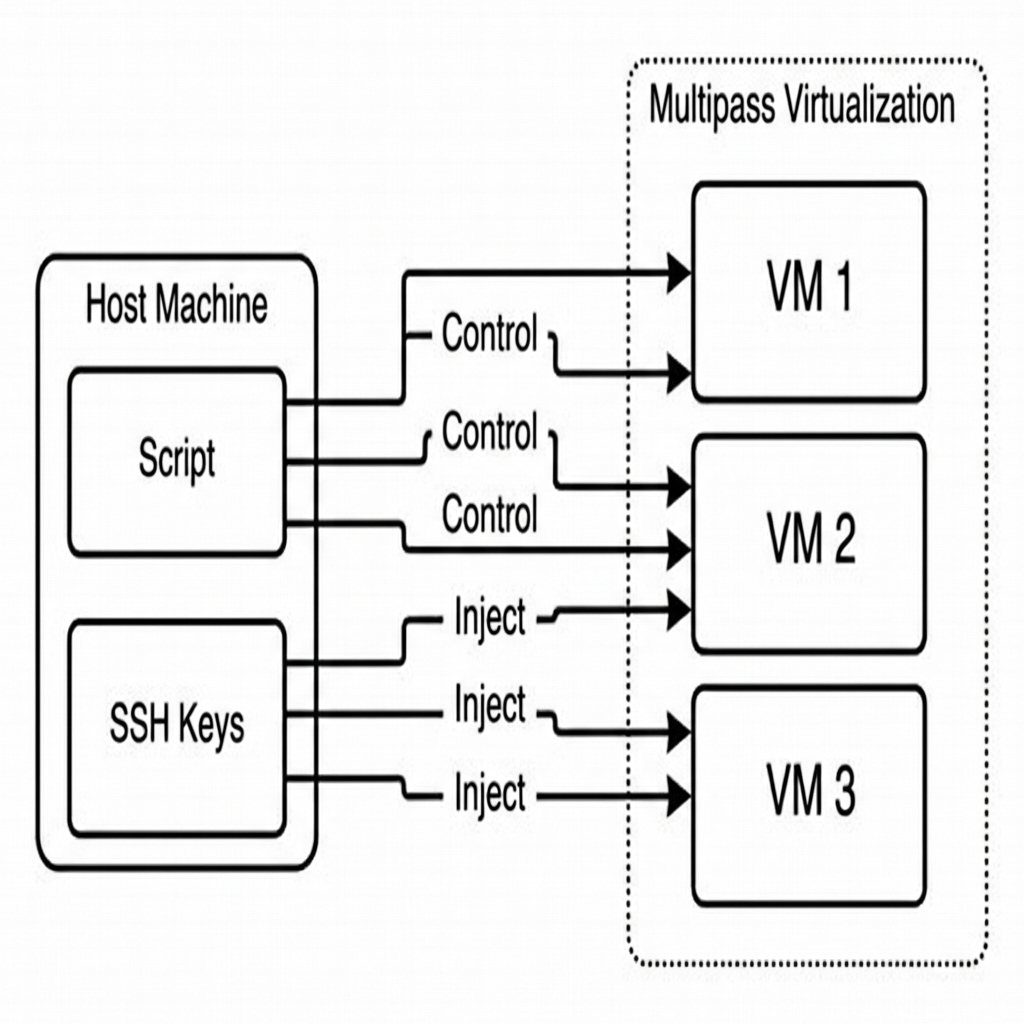
The script creates Ubuntu VMs that mimic the parts of cloud providers that matter for deployment tests. You get an ubuntu user with passwordless sudo access because that is what many deployment tools expect.
It also handles the plumbing people forget until it breaks:
- Generates a dedicated SSH keypair — Stored locally in a
.multipass-statedirectory, not mixed with your personal~/.ssh/keys. - Injects the public key into the VMs — So you can SSH in immediately, or hand the private key to your deployment tool.
- Tracks all created VMs — So cleanup is surgical and complete.
Create VMs
./multipass-manager.sh create
This spins up three VMs by default, generates an SSH keypair if one does not exist, and prints the private key so your deployment tool can use it.
You’ll see:
✓ Created deploy1
✓ SSH key injected for ubuntu@deploy1
✓ Created deploy2
✓ SSH key injected for ubuntu@deploy2
✓ Created deploy3
✓ SSH key injected for ubuntu@deploy3

ℹ VM IP Addresses:

deploy1: 192.168.64.2
deploy2: 192.168.64.3
deploy3: 192.168.64.4

ℹ SSH PRIVATE KEY (copy this into your deployment tool):
═══════════════════════════════════════════════════════════════
-----BEGIN OPENSSH PRIVATE KEY-----
...
-----END OPENSSH PRIVATE KEY-----
═══════════════════════════════════════════════════════════════
Save a Clean Snapshot
After your deployment tool has commissioned the servers — installed Docker, configured firewalls, set up WireGuard mesh, or whatever your baseline requires — save that state:
./multipass-manager.sh snapshot
This stops all VMs, takes a snapshot named clean, and restarts them. That’s your baseline.
Break and Reset
Now break things. Deploy an app. Misconfigure something. Watch it fail. Then:
./multipass-manager.sh restore
Thirty seconds later, your VMs are back to the exact state they were in after commissioning. No orphaned containers, no leftover databases, no weird state.
Full Cleanup
When the whole test run is over:
./multipass-manager.sh destroy
This removes all VMs, purges snapshots, removes SSH config entries, and deletes the local state directory.
The Feedback Loop Is the Product
Multipass matters because the feedback loop changes.
Before this, I avoided some edge cases because cleanup was painful. That is a bad incentive. It encourages hope-driven infrastructure work.
With snapshots, breaking things becomes cheap. Deploy. Restore. Deploy again. Test the happy path, the sad path, and the weird edge case that only appears when the first deploy fails halfway through.
When cleanup is free, experimentation becomes normal.
Rules That Survived Use
The workflow is simple, but a few rules matter.
1. Snapshot after commissioning, not before.
Your clean state should include Docker, your deployment agent, firewall defaults, and anything else that belongs to the baseline. You want restore to take you back to the useful starting line, not all the way back to raw Ubuntu.
2. Run ssh-update after restarts.
VMs keep their IPs across restarts most of the time. Not always. This command updates your ~/.ssh/config so ssh deploy1 keeps working without IP hunting.
./multipass-manager.sh ssh-update
3. Three VMs is a good default.
One machine is enough for simple deployments. Three lets you test multi-node setups, mesh networking, and load balancing. You can change this in the script’s configuration section.
4. Keep the script in your project.
I keep vms/multipass-manager.sh at the root of the infrastructure repo. The SSH keys and VM state belong with the project, not scattered across a home directory.
The Core Script Is Not the Point
The full script is on GitHub Gist . The script matters because it enforces the lifecycle people otherwise skip:
# Configuration
VM_PREFIX="deploy"
NUM_VMS=3
SNAPSHOT_NAME="clean"

# Create a VM and inject SSH key
multipass launch 24.04 --name "$VM_NAME" --memory 2G --cpus 2 --disk 10G
multipass exec "$VM_NAME" -- bash -c "echo '$pubkey' >> ~/.ssh/authorized_keys"

# Snapshot
multipass stop "$VM_NAME"
multipass snapshot "$VM_NAME" --name "$SNAPSHOT_NAME"
multipass start "$VM_NAME"

# Restore
multipass restore "${VM_NAME}.${SNAPSHOT_NAME}"
Multipass handles the heavy lifting. The script tracks VMs, manages keys, updates SSH config, and makes cleanup complete.
Stop Testing on Polluted Machines
Infrastructure tests fail twice when cleanup is expensive. First, the tool fails. Then the dirty environment lies to you on the next run.
Local VMs with snapshot and restore fix that. They give you a fast loop, real machines, real SSH, real Docker, and a clean rollback point.
That is the missing undo button.